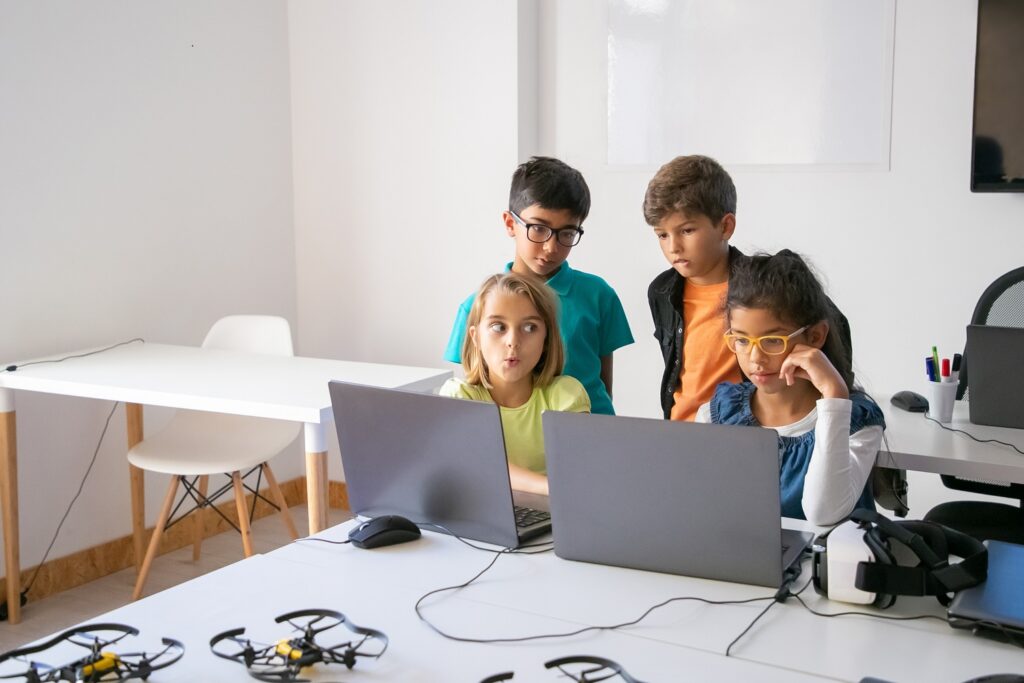
In a world dominated by technology and innovation, instilling a passion for STEM (Science, Technology, Engineering, and Mathematics) in young minds has become increasingly important. While STEM education is a significant part of formal schooling, the learning journey doesn’t have to stop when the school bell rings. In this post, we’ll explore five fun and educational after school STEM programs and activities that you can easily try at home with your children. These activities are not only entertaining but also provide valuable opportunities for hands-on learning and skill development.

1. Building a DIY Solar Oven: Harnessing the Power of the Sun
- Age Range: 8-12 years old
- This activity involves some cutting, taping, and careful handling of materials, making it suitable for older children who can follow instructions independently.
Activity Overview:
Creating a solar oven is a fantastic way to blend science with a practical application of engineering. This activity teaches kids about solar energy, heat transfer, and the engineering principles behind designing an effective oven. Moreover, it allows them to witness the transformative power of renewable energy in a simple, hands-on project.
Materials Needed:
- Cardboard pizza box
- Aluminum foil
- Plastic wrap
- Black construction paper
- Tape
- Scissors
- Ruler
- Thermometer
- Food items to cook (e.g., s’mores ingredients)
Instructions:
- Cut a flap into the top of the pizza box, leaving a border around the edges.
- Cover the inside of the flap with aluminum foil, shiny side out, and secure it with tape.
- Line the bottom of the box with black construction paper to absorb and retain heat.
- Cover the opening with plastic wrap and tape it in place.
- Close the box and position it in direct sunlight, ensuring that the foil-covered flap reflects sunlight onto the black paper.
- Place a thermometer inside the box to monitor the temperature.
- Once the box heats up, you can use it to make delicious solar-cooked treats like s’mores.
Educational Insights:
- Learn about solar energy and how it can be harnessed for practical applications.
- Understand the principles of heat transfer and insulation.
- Explore basic engineering concepts related to designing a functional solar oven.
- Coding Adventure with Bot-Drawing Robots: Unleashing Creativity with Code.
2. Coding Adventure with Bot-Drawing Robots: Unleashing Creativity with Code

- Age Range: 6-10 years old
- Bot-drawing robots are designed to be user-friendly and can engage younger children. The activity focuses on creativity and basic coding concepts, making it accessible to a broad age group.
Activity Overview:
Introducing children to coding doesn’t have to involve sitting in front of a computer screen. Bot-drawing robots offer a hands-on and artistic way to learn the basics of coding for kids while sparking creativity. This activity blends coding with elements of design, encouraging kids to think algorithmically as they guide the robot to create unique drawings.
Materials Needed:
- Bot-drawing robot (e.g., Ozobot, Botley)
- Whiteboard or large sheets of paper
- Markers in various colors
- Coding cards or markers for programming the robot
- Clear instructions on basic coding commands
Instructions:
- Familiarize yourself and your child with the basic coding commands the robot understands.
- Place the robot on a whiteboard or large sheets of paper.
- Using markers, create a drawing path for the robot to follow, incorporating different colors and patterns.
- Program the robot using coding cards or by drawing lines with specific colors to represent commands.
- Run the code and watch as the robot brings the drawing to life.
Educational Insights:
- Introduce coding concepts in a creative and playful manner. Consider enrolling young kids in coding classes nearby so that they can stay connected with the latest technologies.
- Develop problem-solving skills as children debug and modify their code.
- Explore the intersection of art and technology, emphasizing the interdisciplinary nature of STEM.
3. DIY Water Rocket Launch: Exploring Physics and Aerodynamics
- Age Range: 10-14 years old
- Creating and launching a water rocket involves some intricacies in design and safety considerations. This activity is suitable for older children who can handle the complexity of building and launching a water rocket.
Activity Overview:
A water rocket launch is a thrilling outdoor activity that combines elements of physics, engineering, and aerodynamics. This project allows children to build their own rockets, understand the science behind propulsion, and witness the principles of physics in action as they launch their creations into the sky.
Materials Needed:
- Plastic soda bottles (2-liter)
- Cardboard or foam board
- Duct tape
- Water
- Bicycle pump
- Cork or rubber stopper
- Launch pad or sturdy base
Instructions:
- Create the rocket body by attaching fins made of cardboard or foam board to the bottom of a plastic soda bottle.
- Fill the bottle one-third full with water.
- Insert a cork or rubber stopper tightly into the neck of the bottle.
- Secure the stopper with duct tape, ensuring a tight seal.
- Place the rocket on a launch pad or sturdy base.
- Use a bicycle pump to pressurize the air inside the bottle.
- Release the rocket, and watch as it launches into the air propelled by the escaping pressurized air.
Educational Insights:
- Explore the principles of physics, including Newton’s laws of motion.
- Understand the basics of aerodynamics and how different designs impact flight.
- Learn about pressure, force, and energy transfer in a hands-on, exciting experiment.
- Exploring Genetics: Extracting DNA from Strawberries
4. Exploring Genetics: Extracting DNA from Strawberries

- Age Range: 10-16 years old
- Understanding DNA extraction involves grasping basic biological concepts. This activity is more suitable for older children who have a foundational understanding of biology.
Activity Overview:
Unlocking the mysteries of genetics can be a hands-on and visually stunning experience with a simple DNA extraction experiment. This activity allows children to witness the extraction of DNA from strawberries using household items, providing a tangible connection to the world of biology and genetics.
Materials Needed:
- Strawberries (fresh or frozen)
- Ziplock bags
- Dishwashing detergent
- Table salt
- Isopropyl alcohol
- Coffee filter or cheesecloth
- Small containers or test tubes
Instructions:
- Place a few strawberries in a Ziplock bag and mash them using your hands.
- Add a small amount of dishwashing detergent and a pinch of table salt to the mashed strawberries.
- Mix the contents thoroughly, breaking down cell walls and releasing the DNA.
- Filter the strawberry mixture through a coffee filter or cheesecloth into a small container.
- Carefully layer isopropyl alcohol on top of the filtered liquid, forming a separate layer.
- Observe as the DNA rises into the alcohol layer, forming visible strands.
Educational Insights:
- Understand the basic structure of DNA and its role in genetics.
- Explore the scientific method through experimentation and observation.
- Discuss the practical applications of DNA extraction in fields like genetics and forensics.
5. Geological Excavation: Unearthing the Past with Homemade Fossils

- Age Range: 6-12 years old
- Creating homemade fossils and excavating them can be enjoyed by a wide age range. Younger children may need more assistance with the creation of fossils, while older children can delve into the excavation process with greater independence.
Activity Overview:
Embark on a geological adventure by creating homemade fossils with your child. This activity introduces concepts related to paleontology, geology, and the scientific process of fossilization. Children will enjoy the hands-on experience of creating and excavating their own fossils.
Materials Needed:
- Modeling clay or homemade salt dough
- Small plastic dinosaurs or other small objects
- Small disposable containers
- Plaster of Paris
- Water
- Plastic utensils or brushes for excavation
Instructions:
- Flatten a piece of modeling clay or salt dough on the bottom of a small container.
- Press a plastic dinosaur or other small object into the clay to create an impression.
- Remove the object, leaving the impression behind.
- Mix plaster of Paris with water according to the instructions on the packaging.
- Pour the plaster mixture into the container, covering the clay and filling the impression.
- Allow the plaster to dry completely and harden.
- Once dry, carefully remove the plaster “fossil” from the container.
- Provide plastic utensils or brushes for your child to excavate and uncover the “fossil.”
Educational Insights:
- Learn about the fossilization process and how fossils are formed.
- Understand the role of paleontologists in studying Earth’s history.
- Explore concepts related to geology, sedimentation, and preservation.
Conclusion:
Engaging children in STEM activities at home not only enhances their understanding of science, technology, engineering, and mathematics but also fosters a love for learning. The activities mentioned above offer a blend of fun and education, turning everyday items into tools for exploration. As you embark on these adventures with your child, remember that the goal is not just to impart knowledge but to inspire curiosity, critical thinking, and a lifelong appreciation for the wonders of STEM. So, roll up your sleeves, gather your materials, and let the STEM adventures begin in the comfort of your own home!

